Food Writing

28 September 2013

Apple Cinnamon Almond Flour Muffins


This weekend marks our first year in this apartment (!), (with its tiny kitchenette : ). Last year at this time I was caught in the midst of two visits to different Ikeas in the same day, while today I am able to sit on the couch, look around me and ponder the fact that things do come together.

I've learned a ton this year, about cooking and so much more. And this I hope to say every year. The kitchen itself can teach you so many lessons. From keeping it stocked and in production, to brainstorming meals, to why spur of the moment baking is good and can also dig you into a hole and how to tell the difference (maybe there's another post in that topic), to adventures with almond flour and different whole grain flours, to managing budgets...oh, yes, I've learned...I've learned that turning on the oven is sometimes a spark to think of all the things to cook at once or in succession of each other...

And I've learned that sometimes it's better to just cook the one thing and go do something else : )

I've learned that having a kitchen running like a well-oiled machine in terms of advance prep and production is incredibly empowering and saves tons of $$...
And I've learned that it is essential to let go of all that, go out to eat , shop minimalistic and let your fridge deplete itself to bare bones sometimes... before diving in again to seize the harvest...

Speaking of the Harvest.


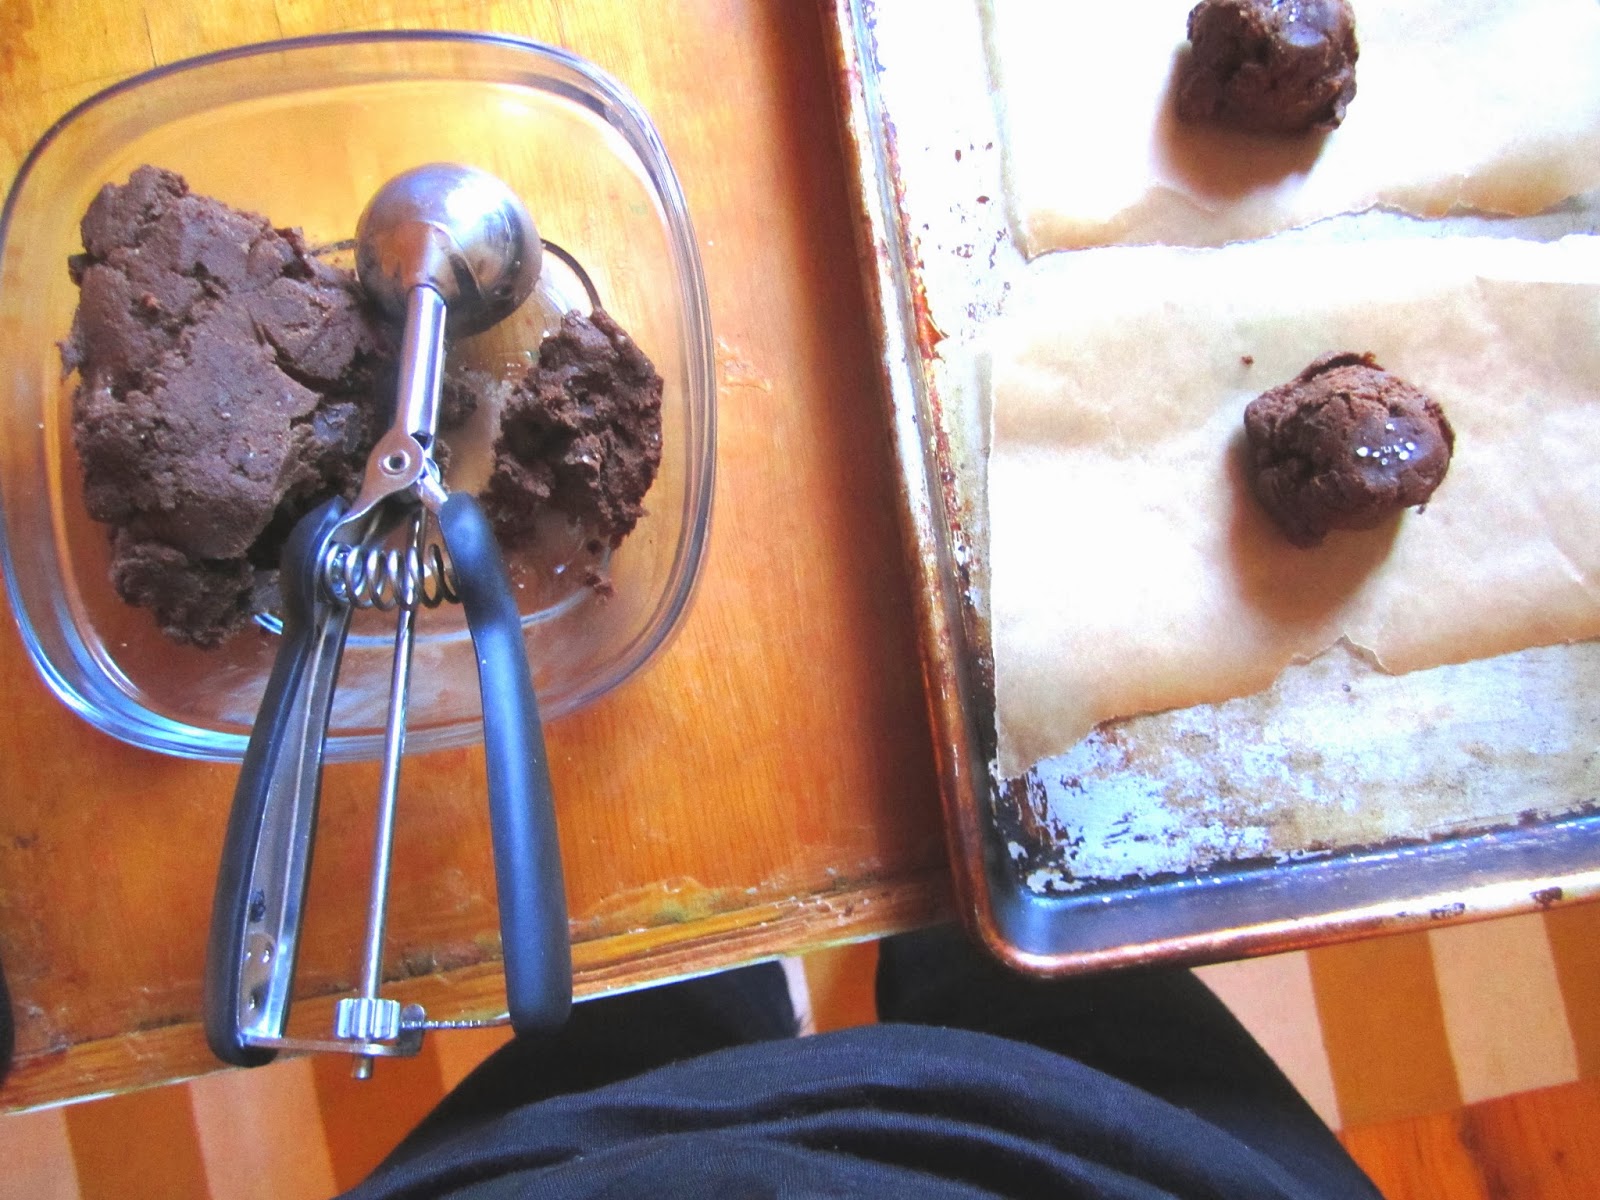
My sister, mom and I picked some apples last week and after having my share of them raw I'm jumping on the baking bandwagon with these heavenly apple cinnamon muffins from the Vanilla Bean blog.

We love these muffins as a gluten/grain-free muffin. They possess a soft, light crumb and the grated apple melts into the batter while the cinnamon warms it and the cinnamon-coconut sugar sprinkle atop gives the whole thing that dusty outer crust a la donuts.


Yum. Totally worth grating an apple for. In my last post I mentioned how I'd been experimenting with the base almond flour muffin recipe to lighten it a tad. What I meant was, I'd made a rendition of Sarah's muffins and really liked the slight difference in relation to the apple inclusion. Not only is the crumb more delicate and soft from apple, but the one less egg and addition of milk here help to lighten the batter, and the different ratios draw out the quantity of batter to fill nine muffin wells instead of six.

There is not much tinkering needed here. While Sarah's recipe originally includes pecans, I had no pecans today so I just threw in a tiny spec of chopped toasted almonds. Once cooled and split, we topped them with an easy cinnamon-honey-butter spread (just the three of those items, stirred together and left out to soften) and welcomed fall. Have a great weekend!


Apple Cinnamon Almond Flour Muffins
Barely adapted from Vanilla Bean

Note: the 2x I've made these my baking time was different than the original recipe. I'd say 20 minutes is a better guess but sarah originally says 16-18. Use your toothpick to test.

2 1/4 cups almond flour
1/2 teaspoon salt
1/4 teaspoon baking powder
1 teaspoon cinnamon
1/4 cup honey
1/4 cup olive oil
1/4 cup whole milk
1 teaspoon vanilla
1 egg
1/2 teaspoon baking soda
3/4 cup (loosely packed) grated apple (I used half of a medium one)
Small handful chopped toasted almonds or pecans

To top:
1 tablespoon coconut sugar
1/2 teaspoon cinnamon

Preheat oven to 375, and line a muffin pan.

Whisk  almond flour, salt, baking powder, and cinnamon together. 
In another bowl, whisk together honey, oil, milk, vanilla, egg, and baking soda. 
Pour the wet ingredients into the dry and mix until just combined. 
Add the the grated apples and almonds if using and gently mix.
Scoop the batter into the prepared muffin pan, filling the muffin cup almost to the top. 
Mix together the sugar and cinnamon and sprinkle the tops.
Bake for 20 or so minutes (18-25 min range), until muffins are browned and a toothpick comes out clean. 
Let cool in pan on a wire rack for 5 minutes, then remove the muffins from the tin and continue to cool on the rack. Split and enjoy!

26 September 2013

There Are Alternatives

I finished my sack of Heckers All Purpose flour the other day but didn't immediately go to replace it. Instead, I'm opting wait a few days or even a week or two, and see what I can dig up recipe-wise to take a break from all purpose flour and do a little fall clean out before some of my whole grain flours' suggested use-by date. It's pure nerd-dom but I really enjoy this challenge. I used up the last of my rye in these great crackers (which also depleted the all purpose) and made a dent in the 100% whole wheat flour sack with this great cookie recipe which uses only whole wheat flour. Make a batch, scoop the dough and keep the balls in the fridge or freezer to bake off over the next few days. Another option will be to make more grape nuts, which uses all-whole wheat flour. I like to remind myself that there are alternatives, and that with the right recipe with ample moisture, a 100% whole-grain baked good will not come out as a dense puck (ok well it goes without saying that this does not apply to biscuits/scones). That's ok. There are alternatives.

    Recipe: Kim's Chocolate Chip Cookies


   Recipe: Grape Nuts

And going even further than these two all-whole-wheat recipes, there's the option of completely non-grain/nut-based alternatives. Experiments with almond flour the past few months have always yielded nice, moist results in these paleo blueberry muffins, and I've just begun to tinker with that recipe to lighten/air it a tad, and I'll post about that soon...it is a lovely recipe as it is, and a very universal formula, so why not take it even further? When it comes to almond flour though, the challenge is getting the crunch as it is an inherently moist flour. On that note, who doesn't like a scone? I found that using very cold butter gave crispier edges to the almond-flour based scone, just as it would a grain-scone.


Recipe: Paleo Blueberry Muffins

Last but not least, there's often that morning desire to be easy peasy grab-and-go in a non-baked goods style and for that, this coconut oil based vegan treat has been making an appearance and are easy to pack up as well as break atop yogurt.


Recipe: Easy Paleo Double Almond Bars (Adapted from Elana)

1/2 cup blanched almond flour
1/4 tsp sea salt
1/4 tsp vanilla
2 Tb coconut oil
1 Tb honey
1 tsp water
1/2 c mixed toasted nuts (almonds + pistachios here )
pinch cardamom

Oven to 350. In food processor combine flour, salt. Pulse in oil, honey, vanilla, water. Pulse in nuts + cardamom. Dump/press dough into parchment-lined 9X 5 loaf pan to fill the edges (or double recipe and fill 8 x 8 pan). Bake 15-20 min, cool completely in pan, then cut into squares. I think these store best in fridge airtight. Bring to room temp to eat.


I hope this post finds you having a splendid week and gives inspiration to mix it up a bit. xoxoxox MN

21 September 2013

Paleo Krunch


I'm slightly embarrassed by the title of this snack, as I usually cringe at the K for C (krispies) and the Z for S (cheeze) substitutions when it comes to special spins on snack foods, but this is exactly what this is. It doesn't claim be granola, because it's not, and while definitely being sufficiently crunchy, I wouldn't say this is the crunchiest snack on the planet, so that's why it's... Krunchy.

I've been making a quick Paleo snack bar in the food processor lately pretty much based on this but without the flaked coconut because I don't stock it. This sprinklable topper of a snack is essentially that recipe hacked a tad with slightly different proportions and baked like granola rather than pressed into a pan. The result? A crunchy, grain-free, vegan yogurt and/or fruit topper with hints of coconut and warm spices of orange and cinnamon. It's protein packed, too.

I fished around the net looking at a few Paleo granolas before deciding that replicating oats wasn't possible and maybe not desirable because oats are oats. Almond flour is its own animal and when used in this mixture, it helps the nuts clump together and gives a light crumbly crunch to the final product. That's why I'm quite adamant that this is not being called granola. My favorite, (gluten-free) oat granola is here. This recipe was inspired by the last 1/4 cup of almond flour in my fridge. Adjust accordingly if you need to make more. This made about half a mason jar. A few notes: be sure to let this cool and crisp up sufficiently. I went out for a few hours after I baked it and left a piece of foil over the pan so it dried out as much as it could, then stored it upon return.

It's a quick post today, just to share this because I know many Paleo-ites may be looking for a crunchy topper that doesn't rely on cups and cups of whole (expensivo) nuts and dried fruit to be ground up-here's my 2-bowl, no-processor almond flour rendition; have a great weekend all: )


Paleo Krunch

1/4 cup almond flour
1/4 cup pecans, chopped
Heaping 1/4 cup mixed pumpkin and sunflower seeds 
Scant 1 T coconut sugar
Pinch sea salt
Pinch orange zest
Pinch cinnamon

1/4 tsp vanilla
1-2 T melted coconut oil *
1-2 T Honey *

*I used my judgement here and when pouring the wet into dry, used just enough to moisten. I therefore had a little leftover honey/oil mix when I used 2 T each.

Oven to 325. Stir together all dry ingredients. Then separately stir together wet. Pour wet into dry a bit at a time, stirring and moistening with your hands. You may have some wet leftover and that is ok. You want the mixture to be moist, not dripping wet. Spread mixture onto parchment lined sheet, bake about 20-25 minutes, stirring every ten. Look for browning but not burning. Now turn the oven off and leave it in there for another 10 minutes. Cool on a wire rack for a few hours. Store in a jar and sprinkle on yogurt and/or fruits.

17 September 2013

Salted Rye Crisps


I have a great respect for people who make everything from scratch. And by that I mean not only people, but people who operate restaurants. For the going East Coast rates of dining out you better hope the majority of your dish is house-made, from the tortillas to the bread to the cheese to the dressings to the mayo to the burger, and the more you experience it the more you can absolutely taste the difference. Of course, kitchens pay people to spend all day prepping those kinds of things-gallons worth of homemade X. And to replicate that at home, you'd also have to spend lots of time in pre-production (without pay : )).

Well, no I'm not advocating this. But I'm advocating a little more attention to production when possible and a little less fear surrounding it. Because it pays off. It ends up saving time, and the more you concoct from scratch at home, the more you can tell this sort of thing when you go out, too and become a better consumer. Of course, smart consumption is for you to judge for yourself. Time is money after all, but spending time can save you money, too.
 

The entire subject of DIY unboxed snacks you typically can buy in a box, like cereal, or chocolate nut treats or spiced nuts, is an interesting one. What if we crack the code to making nearly everything at home that they sell in boxes? "They" sure don't want that. And the point is, we don't have to because they do it. And they help a lot of people. No one has to feel bad about throwing their kid a healthy boxed granola bar when the request announces itself while in the car. But, as Michael Pollan not-so-discreetly brought up in his book, when people (women) who formerly spent a lot of time in the kitchen opted to stop doing so (even unconciously) because of the post mid-century advent of more packaged foods, did they realize what kind of power they were giving to the (male) CEOs of these snack companies.

That was a line that stuck with me. I've always had the DIY gene (my father refused to hire anyone to do anything in the house he could do even if it made life easier) and as time goes on I've been itching to try to make more snacks myself... and I'm certainly not alone! Blogs across the blogosphere are practically devoted to this very topic. Combating funky filler ingredients is one motive in this quest, but the sheer desire for the ability to be able to do it, is another, as well as using up ingredients on hand. We can speak to our cell phones and have them speak back to us whether to turn left or right, so, long story short, let's make crispy rye crackers and save seven bucks at the Epicurean marketplace.


Super-smart cookbook author/recipe developer Ivy Manning recently released a cookbook specifically on crackers and dips. Brilliant. I found one of her recipes for rye caraway crackers and went in tepidly. I opted to omit the caraway, for one, and just do a seed and salt sprinkle top. I knew I might be screwed because I didn't have a pasta maker for the one suggested step to get the dough super thin, but I decided to try out half the dough (the recipe for which I'd already halved of course--I said I went in tepidly!) since the dough, once made, can be stored in the fridge for up to 2 days (bonus points).

And what do you think happened? I mixed the dough, rested it, cut it in half, rolled the half I was using, scored it, baked it off, and the edges...the edges were great. Crisp, thin, tasty and crunchy. But the center of the cracker was much too pliable, like a dry flatbread. Well, bummer. The flavor was there but it was not cracker-like enough beyond those great edge pieces, no sirree. The thin, crispy edges made great dippers but slowly ascended in height to malleable center pieces all because I had been a rolling-out scaredy cat.

Luckily, being frugal, I'd considered the first foray a test, was willing to be sup-par and learn, and then the next day, having learned, I got out the saved piece of dough and nailed it. I rolled out the dough paper thin, thinner than I thought permissible, baked it, and those were the ones to write home about.
 

The secret to homemade crackers (beyond a good recipe like Manning's) lies in rolling them super thin and baking them to within a millimeter of their lives.

Repeat that. Then go make some crackers.

Egg wash and flakey salt help too : )


 Salted Rye Crisps
Adapted from Ivy Manning

Notes: While Ivy has you slightly separate crackers before baking with a pastry wheel, I found it easier to work with small amounts of dough at a time and bake a super thin, scored, cracker sheet. I also did not use a pasta maker and rolled by hand. 

1/2 cup/57 g  rye flour
1/2 cup/62 g unbleached all-purpose flour
1/2 tsp baking powder
1/2 tsp fine sea salt
1 tsp finely chopped seeds (like sunflower + pumpkin - optional)
1 Tbsp chilled unsalted butter, cut into 1/4-in/6-mm cubes
1/4 cup/60 ml whole milk
1/2 tbsp molasses
1 egg beaten with 1 tbsp water
Sea salt + poppy seeds (optional)


Preheat the oven to 400°F when ready to bake. Line two baking sheets with parchment paper.

Meanwhile, in a food pro­cessor or large bowl, combine the rye flour, all-purpose flour, baking powder, salt, and ground seeds and pulse or whisk to combine. Add the butter and pulse or rub with your fingers until the butter is in tiny pieces and the mixture resembles fine cornmeal.

In a measuring cup with a spout, combine the milk and molasses and stir until the molasses has completely dissolved. Gradually add the milk mixture to the flour mixture and pulse or stir with a wooden spoon until the dough comes together into a ball.

Knead the dough until smooth, (I found folding it over itself the best way). The dough will be slightly sticky; Divide the dough into two balls, cover with plastic wrap, and let the dough rest for 30 minutes. (The dough can be made up to this point and stored in the refrigerator, tightly wrapped, for up to 2 days.)

Pat one ball of dough into a small rect­angle, divide in two again, and roll one rectangle at a time out on a between two pieces of parchment, turning it over here and there, until the dough is 1/16 in thick. Very thin.Transfer to baking sheets. Score into strips, brush with egg wash, sprinkle with salt and seeds, pressing them in lightly with a rolling pin over parchment.

Bake two sheets at a time, on the upper and lower thirds of the oven, until the crackers are golden brown around the edges and no longer pliable, 12 to 15 minutes, rotating the baking sheets once from top to bottom and from back to front while baking. Watch carefully to make sure the crackers do not burn. Cool the crackers on their trays on racks and store in an airtight container once cool.


13 September 2013

Desk Lunch


I used to have a job at a high-end firm where, by the end of my time there, it became one of my tasks to bring the boss his salad on a silver platter. It had to be the same, specific platter and it was to be left on the edge of a silver table. The deal was pretty straightforward. The only dilemma was whether or not to knock on the opaque screen to inform that it had arrived. That's the visceral memory that arose when I set my own desk lunch down today and realized it was on a silver tray. But phew, I was in my own house and no dilemmas about knocking were to persist! Let me clarify, it was a sheer accident that the salad ended up on the tray--the tray was literally on the table and the bowls ended up on it. But then I realized how convenient it is to have your lunch on a tray. So maybe he was onto something. He always was. 


I like to have some protein at lunch. And some good fats and some unami: ie, avocado and strong cheese. Nuts are nice but not necessary here. I keep it simple in a re-engineered classic cobb, swapping the typical chicken/bacon/egg/blue/avocado/ranch Atkins-y feast with an updated, mellower salmon/avocado/blue/garden veggie melange and top it with a tangy and addictive creamy parsley dressing. It's all riff-able but with the Cobb, a few things are staples: the blue cheese, avocado, tomato and leaf lettuce. The salmon was a leftover from the previous night's dinner, having been lightly roasted and flaked to keep its moisture intact, so naturally, a next day salad topper was in order, which is never a bad thing.


 Until next time. xo MN


Updated Salmon Cobb
1 1/2 - 2 cups sliced, green or red leaf or Boston lettuce, ideally from a head
Handful garden veggies, chopped and slivered: radish, green pepper, carrot
1/2 a small red tomato
1/4 large or 1/2 small avocado
A chunk of cooked salmon, ideally room temp**
2 T crumbled blue cheese
1 T red onions, pickled
Sea Salt 

Parsley Dressing
1/2 c parsley
1 clove garlic
Juice of 1/2 a lemon and a few teaspoons zest
1/2 c sour cream (or Greek yogurt or combo) 
1 T olive oil (optional)
pinches sea salt + pepper to taste

Combine first  3 ingredients in food processor, then add cream and process until light greenish, and drizzle in oil through the top for a final emulsion. Season with salt and pepper. Ideally, chill it in the fridge for a little.

Assembly: You know what to do. Arrange, nestle and pour.


**For simple roast salmon, generously salt and pepper fish, then let the fish sit at room temp while the oven heats to 400 degrees. Meanwhile brush it with a little oil, lemon zest, crushed garlic and herbs and roast on parchment lined baking sheet for 15 minutes or until flaking and just opaque in center. Cover with foil or loaf pan for a few minutes then serve. Use leftovers for salads like these.

09 September 2013

Grape Nuts


 Some time ago, I was a boxed cereal stocker, but that stopped when I became more interested in baking. We've been living in our apartment for about a year now and I have never bought a box of cereal. I'm not saying this with any sort of snoot attached. I'm just more inclined to minimalism. A batch of muffins or scones stored in the freezer, grain-free or grain-ful, or a seasonal loaf bread that sits on the counter a few days, or a jar of granola in the cupboard for the week usually offer plenty quantity to fill out mornings on the breakfast front and negates going into the cereal aisle at all. But making a non-granola cereal has been on my radar for quite a bit because it just seems rather obviously doable if you have flours and an oven. The ingredients are pretty scant, and yet the whole thing connotes intimidation. These are things that factories and "experts" make. Well, it doesn't have to be that way.

I chose a rendition of Grape Nuts for this recipe because it's a simple start as there's no rolling or chilling involved. I toyed around with looking at a few recipe concepts before barely adapting an often passed around one that seemed like it countered the whole issue with why people don't often make their own cereal (at least me--other than granola). Admittedly, I'd originally intended to make the Graham Nuts recipe from Good to the Grain, which calls for both Graham and whole wheat flours, not just whole wheat, and involves a slightly different process of cooking, but in the end I opted for the time less spent (and nearly identical recipe list) with a slightly different technique in tow, and was quite pleased with the results regardless.


Do you know how grape nuts are made? While there are, of course, a few ways to go about making a cereal of this nature, it all comes down to a similar formula when you make it at home: you bake a "patty" (see photo at post's bottom) comprised of whole wheat flour, salt, brown sugar, baking soda, cinnamon, buttermilk and vanilla. At this point you will not really want to be digging in because what emerges looks and feels rather odd (but it does smell delightfully nutty with notes of cinnamon). Respect process, people.

The smooth, cooked "wheat patty," which resembles a piece of whole wheat flat or pita bread, then gets cooled (essential), torn into pieces and simply ground in the food processor to your desired "nut size." It will be like you're pulsing torn bread into bread crumbs. I know, all this nomenclature of patties and nut size is not really milk for the foodie-artisinal sect, but bear with me. You then bake said ground up pieces of the patty again, so they dry out, cool and store them airtight. And that is it.


So, while Grape nuts are inherently "plain" on some level (ok- on most levels, the obvious one being they are not exactly snacking material outside the cereal and milk zone, like say, peanut butter cocoa puffs, granola clusters and the like), they make a great blank slate to be dressed with the milk of your choice, a little honey perhaps, and some sliced fruit. I love banana on them, and also apple (maybe because of the art on the store-bought box), or strawberries and raisins. It is a wonderfully Amish way to start the day, not to mention pretty low-maintenance. 

If you thought making your own cereal was not worth the effort and easily cancelled out by purchasing the $5 box, I suggest you try this. This particular recipe does not beg more than an hour of your time and can be made in advance, (it keeps a few weeks airtight). It's win-win; it's part of your complete breakfast.

Have a stellar week, everyone.

Notes: The recipe below made exactly a pint mason jar of cereal. If you'd like more at your service, feel free to increase it. Note that times may vary though with baking and are reflected in my recipe version. Make sure you smooth out the patty thinly, regardless.

And while we're on the topic of frugality, I'll note that I DIYed both the brown sugar (For a cup of each, use a ratio of 1 Tbsp molasses to 1 cup regular sugar) and buttermilk (1 Tbsp lemon juice to 1 cup milk and let it sit 10 minutes)


Homemade Grape Nuts
Barely adapted from All Recipes

3/4 cup and 2 tablespoons whole wheat flour (105 grams)
Scant 1/4 cup brown sugar (45-50 grams)
1/4 tsp salt
1/4 tsp baking soda
1/4 tsp cinnamon
1/2 cup buttermilk
1/2 tsp vanilla extract 
1 tsp honey

  1. Preheat oven to 350 degrees F. Line a baking sheet with parchment.
  2. Combine flour, brown sugar, salt, baking soda, and cinnamon in a large bowl. Stir buttermilk, vanilla and honey together, then pour into dry mix and mix well. Pour mixture into prepared baking sheet and spread evenly with a spatula.
  3. Bake in the preheated oven until browned and firm, 20 minutes. Cool patty in the baking sheet for 10 minutes then remove and cool completely to the touch on a wire rack.
  4. Preheat oven to 275 degrees (I used 300 as that is my oven's lowest setting)
  5. Break cooked patty into chunks and put through food processor, in batches to give you nut sized crumbs. Pour crumbs over baking sheet.
  6. Bake in the oven until dry, stirring every 10 minutes, about 30-35 minutes. Allow crumbs to cool completely on the tray on a rack, and store in an airtight container.


06 September 2013

Orange, Black and Blue Bottle

As I'm typing this, my nostrils are vaguely infused with the scent of apple cider. I have no idea where it's coming from, other than out the back window of my apartment somewhere, perhaps not so near, but it's not the first time I've smelled it. It's clearly not a bad thing, but if one of my neighbors is a secret apple cider maker, I'm going to need to get in on that. The smell is conjuring a timely longing to run into an apple field right now (the apples in Jersey are almost ready), go on a hay ride and pick a pumpkin while I'm at it.  It's early evening on one of the most gorgeous days out as of late, and that fall spirit is just everywhere.

I don't mean to sound like every other sense-driven person out there obsessed with pumpkin spice and Anthropologie sweaters (I love both by the way), but I am absolutely crazy about the fall months. Drinking warm beverages and deep wines and taking crisp, airy walks, and watching the newest October premiering "we are witches" Television show with a half-amused, half-legit indulgent interest (forgive me, but this one actually sounds a tinge promising!)

But let's get down to business. These cookies? Um, yes.

I've been catching a nice flurry of double chocolate cookie baking out on the blogosphere and these cookies are no fluke. They're from the Blue Bottle Cookbook, which is quickly garnering acclaim. Not only a book about coffee, it also offers a select list of recipes for things to accompany coffee in both mornings and afternoons. I first learned about these confections from the beautiful Vanilla Bean blog.

Here is my general rule of thumb with cookies: if they are a bakery recipe, or a pastry chef's most popular book recipe, adapted and passed down by a few bloggers, are pinned a lot, or were just passed to one blogger by a bakery friend, or if they are anything created by Alice Medrich, they are absolutely worth dirtying up your stand mixer and waiting for the dough to chill. 


As a bonus, this particular dough needs to be chilled at least three hours and can be held in the fridge in its "lidded container" for up to five days (I had a moment of nerdy glee when I learned the instructions asked for that rather than plastic wrap). So in my world that means baking off one or two at a time for a few days, and that's what I call quality control : ) Also, having cookie dough ready to go in a fridge gives me a strange sense of peace. I don't know why. It's like that feeling when you've managed to get your outdoors exercise or yoga in before ten a.m. on a given day and now have the rest of the day to do everything else. Yep, I'm comparing exercise and cookie dough. Same thing.


After chilling the dough mound for about 4 hours, I lifted the lid from the container and was first enthused by the smell. I think that's part of the chill factor. It smelled just wonderful, like the flavors had melded up nicely; it smelled like very good chocolate infused with vanilla and aged, if that were to be bottled. I suppose you could also describe it as "intense" but I wouldn't really go there. It just smelled good. Perhaps, "deep" is better than intense. Let's go with deep.


After dropping two heaping scoops onto the baking sheet and letting them cook for exactly 12 minutes, they also looked rather good. And tasted very, very good. Chewy edges, slightly soft but firm centers, melted chocolate puddles and deeply chocolate diffusion throughout. The perfect companion to a strong 4 pm cappuccino. I'll stop talking now, but please see my note about the flour in the recipe. While the adaption on Vanilla Bean used 3/4 whole wheat pastry and 1/4 almond flour, I used a blend of Heckers all purpose, light spelt and almond flour, with the majority being all purpose to weigh 65 grams (1/2 cup as I halved the recipe).

My only quibble? Why on earth did I halve this recipe? I'll certainly be making it again. Enjoy...here is the whole recipe below, which you could halve, or of course, double.


Blue Bottle’s Double Chocolate Cookies
adapted from The Blue Bottle Craft of Coffee


Notes: In terms of size, I used a heaped scoop with this scoop, and baked for just about 12 minutes. You could experiment with less time or make them larger, just keep an eye. Also, I missed the direction about adding the salt with the butter mix, and sifted into the dry instead. I don't think it impacted anything major.


1 cup all purpose flour**
1/3 cup of natural cocoa powder
1/2 teaspoon of baking soda
5 tablespoons of unsalted butter
1/2 cup of white sugar
1/2 cup of muscovado sugar
1 teaspoon of sea salt
1 egg, at room temperature
1 tablespoon of pure vanilla extract
3.5 ounces of dark chocolate (70%), coarsely chopped

**You can use a blend of flour here, since the recipe isn't flour heavy. I went for a ratio of about 2/3 all purpose and 1/3 spelt and almond combined just for variety.


1. Sift the flour, cocoa powder, and baking soda into a bowl. Dump in any remaining bits into the bowl. Set aside.

2. Add the butter to the bowl of a stand mixer fitted with a paddle attachment and beat for 1 to 2 minutes, or until fluffy. Add the sugars and salt and mix on low speed until combined. Scrape down the sides of the bowl and continue mixing for another 5-6 minutes.

3. Combine the egg and vanilla extract in a medium bowl and whisk until blended.

4. With the mixer running on medium speed, add the egg mixture in a steady stream, mixing for about 30 seconds (or until smooth). Scrape down the sides of the bowl and mix for another 30 seconds.

5. Add the flour mixture and mix on low speed until just incorporated. Scrape down the sides of the bowl. Add the chocolate and mix until incorporated.

6. Scrape the dough into a lidded container and refrigerate for at least 3 hours or up to 5 days.

7. When ready to bake, preheat the oven to 350 degrees F. Line a baking sheet with parchment paper. Roll 1/4 cup portions of dough into balls and place them onto the baking sheet two inches apart.

8. Bake for about 12 minutes, rotating midway through, or until the cookies are slightly firm to the touch. Let cookies cool on the pan for about 10 minutes before removing. They’ll be very tender, especially when they immediately come out of the oven. They’re best eaten warm, but can be stored in an airtight container for several days.